Thursday, July 19, 2012

Paper Curling Relief Shapes


 It's was the end of the school year and I am OUT of EVERYTHING! So, what's Ms. Meggles to? Paper curling of course! I knew that I was saving all those paper scraps for something! Our Missouri GLE says, "Create an original low relief paper artwork by manipulating paper. (EG curling, folding, tearing, and cutting)", so I am on target too. Students really worked on motor skills to create the curls around pencils, markers, fingers, paper clips, or by pulling them across CLOSED scissors. The results were really cool, very colorful, and the kids were super proud of them!


We looked at some amazing examples of 3-D and 2-D paper art to give us inspiration. Start here: http://www.webdesignerdepot.com/2009/05/100-extraordinary-examples-of-paper-art/ for ideas!

Monday, July 16, 2012

Doodle Box!!

Fifth grade students had SO much fun with this project. I got the idea from The Doodle Box Project. Artist David Hofmann uses any old box he can find, deconstructs it so that the flaps become wings, mouths, arms, legs, or anything else!
We went through the website first and I let the kids decide which doodle boxes were stronger artworks than the others. They decided that the boxes with color, lots of pattern, creative features like big eyes, expressive mouths, etc were most appealing. AND they determined that the more it didn't look like a box anymore, the better. So, we used these requirements for their projects.
Students were asked to provide their own box. I suggest cereal boxes, shoe boxes, etc. Anything but a boring corrugated shipping box. Kids also brought in 12 pack soda boxes, and other interesting packaging. I did a demonstration on how to locate the glued flap that closes the box, slide my closed scissors into the flap and gently pry it open. I made a caterpillar for my doodle box example (but didn't keep it). So, students saw me working on mine while they worked on theirs.
This was planned as a fun end of the year project where the kids could strut their stuff, so to speak, and demonstrate all the skills they had learned throughout the year. So, I let them use pretty much whatever supplies they wanted. Many chose paint, crayons, markers, yarn, glitter (ugh-that is the part I hate, but they love!), and other add ons like soda bottle tops.

Overall, the results speak for themselves!


Sunday, March 11, 2012

Peter Max Patriotic Paitings

One of our power grade level expectations was to have fifth graders study patriotism in art. Immediately I thought of Peter Max, who was a household name in the 1960 & 1970's for his bright bold colors and hippy love art. He was THE artist of the hippy movement. Students started out by watching some videos of Peter talking about his work. Here is the link for the video roll on You Tube that I showed the kiddos.

I also had Peter's book: the Art of Peter MaxFor them to look through. They LOVED his bright colors.

Next, we learned how to use the wet-in-wet technique with tempera paints. We used a poster-board weight paper and it is a good thing because the paper was so heavy with paint, I am not sure 80 lb drawing paper would have held up.


I showed students how to dip their brush in one pure color and then in another and paint without mixing the two to create a swirly wet-in-wet effect. Here is what the paint trays ended up looking like:


Students came back another day and began to learn about the statue of liberty. I split them into groups and they each got a book about the statue. Some were fiction (with elements of history), and some were non-fiction. They each assembled a list of facts about the statue. Then, I pulled out some clip art of the statue I found on google images. Here is the search I did. Each was about 3x5" printed in black & white. The kids used tracing paper to trace the statues. Even with tracing, each one looked very different!


The kids then used gloss medium to glue down the transparent pieces of  tracing paper drawings. The result was very cool!

At the end, we reflected on why the statue made us feel patriotic. Each student wrote one or two sentences, which I displayed with the work.

(stay tuned for the final work pics!)

Sunday, September 25, 2011

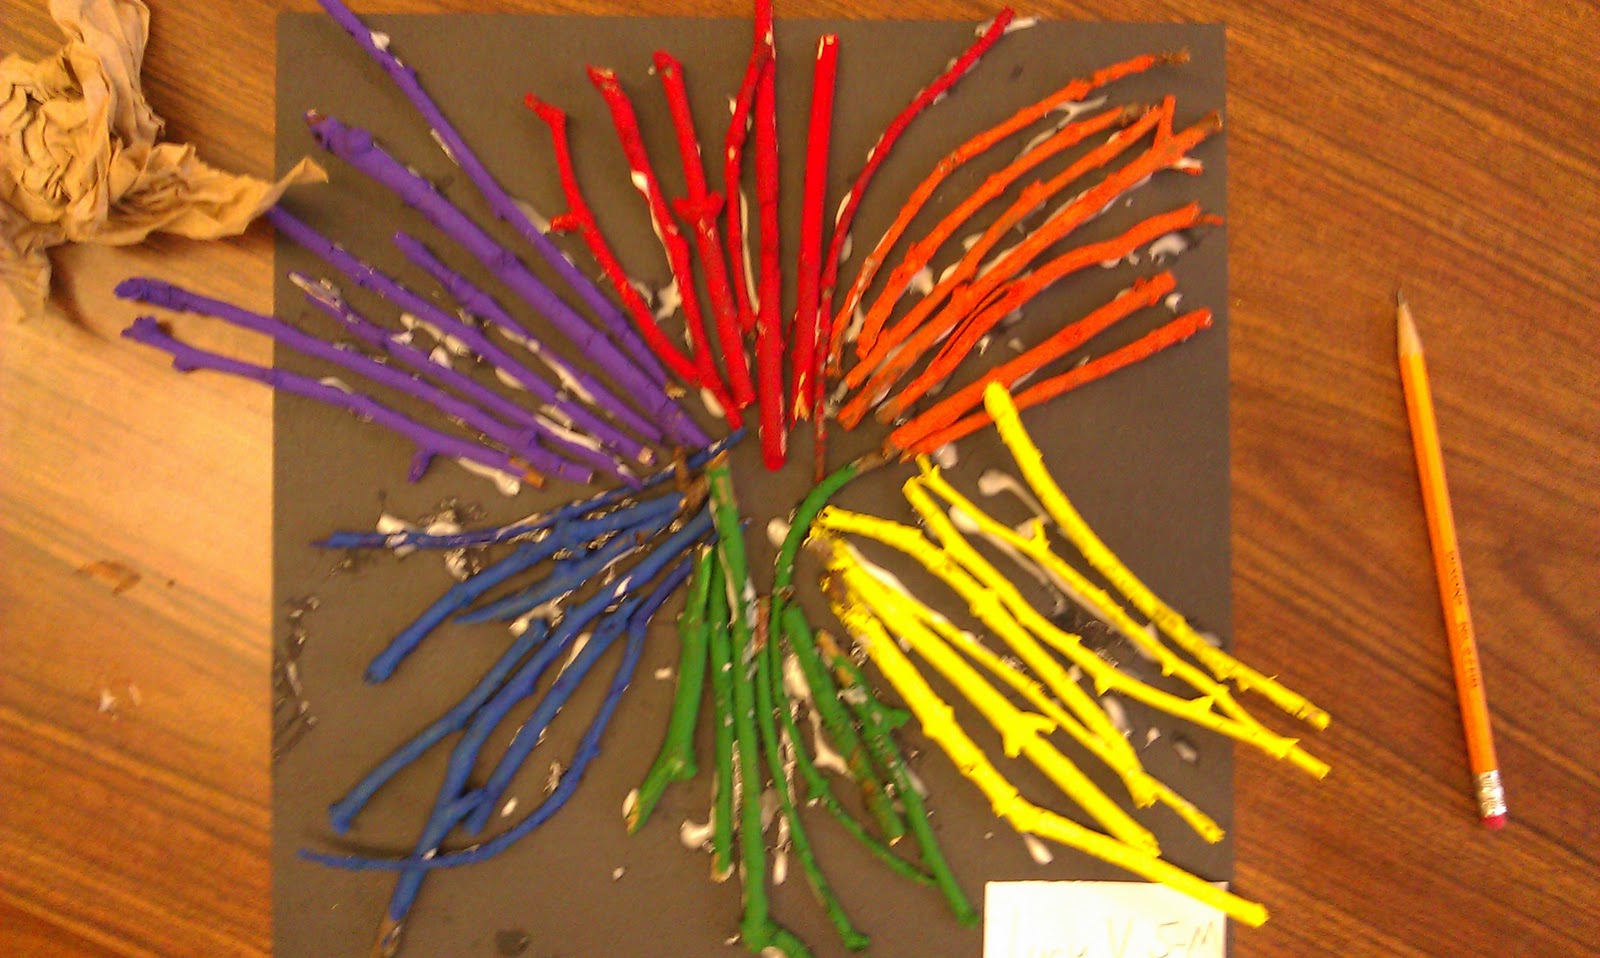
Andy Goldsworthy Inspired Color Wheels

The state of Missouri wants us to make a color wheel in 5th grade. But, Who wants a boring color wheel display where they look all the same? Not us!

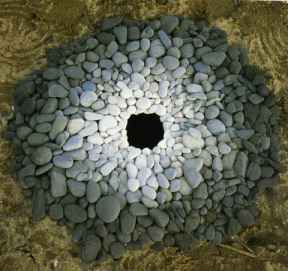
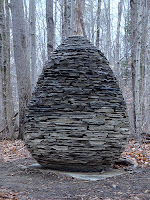
First, we watched Rivers & Tides, a documentary that shows Andy making artwork. Students gave collective a "WOW!" with each piece of art he created. (That  gave me chills!) I encouraged conversation during the movie because some of the dialogue of the movie is kind of conceptual and over their heads. We discussed the "tools" artists use called media. We discussed shapes, forms, colors, and other elements of art while we watched. We also discussed permanence in art and why traditional artists strive for it and why Andy makes art that is so temporary.

Next we went outside. The kids loved collecting twigs in the crisp autumn air. I told them to only collect sticks that are "nature's trash". We never want to take living twigs off the tree.

The second class I set up stations where students worked together to paint as many sticks as possible. Students moved their bodies, not the paint, when they wanted to change colors; and only with my permission. We were a painting machine that day!

The final class we discussed Andy's favorite shape and form. My kids decided that his favorite shape is circle and his favorite form is an egg shape because of the repetition in his works. Then we talked about the order of colors in the color wheel and their proper order. Finally, I let them compose their wheels. Some got inspired by the glue-I think I would nip that in the bud next time, but sometimes when I see them being creative I just let them go with it.

What do you think? I think that the result is a less boring color wheel!